By Dan Sandor
It’s now officially fall, and with the changing of the season comes lower temperatures and a good time to begin preparing lawns and lawn equipment for winter. Former UMN turfgrass extension educator, Sam Bauer, has previously addressed common questions regarding fall lawn care; however, one item you may have overlooked is your irrigation system. If you’re a homeowner or a business with an automated irrigation system in your landscape, one of the most important things is to properly prepare your irrigation system for winter. Failing to winterize your sprinkler system could potentially result in significant and costly damages to your system.
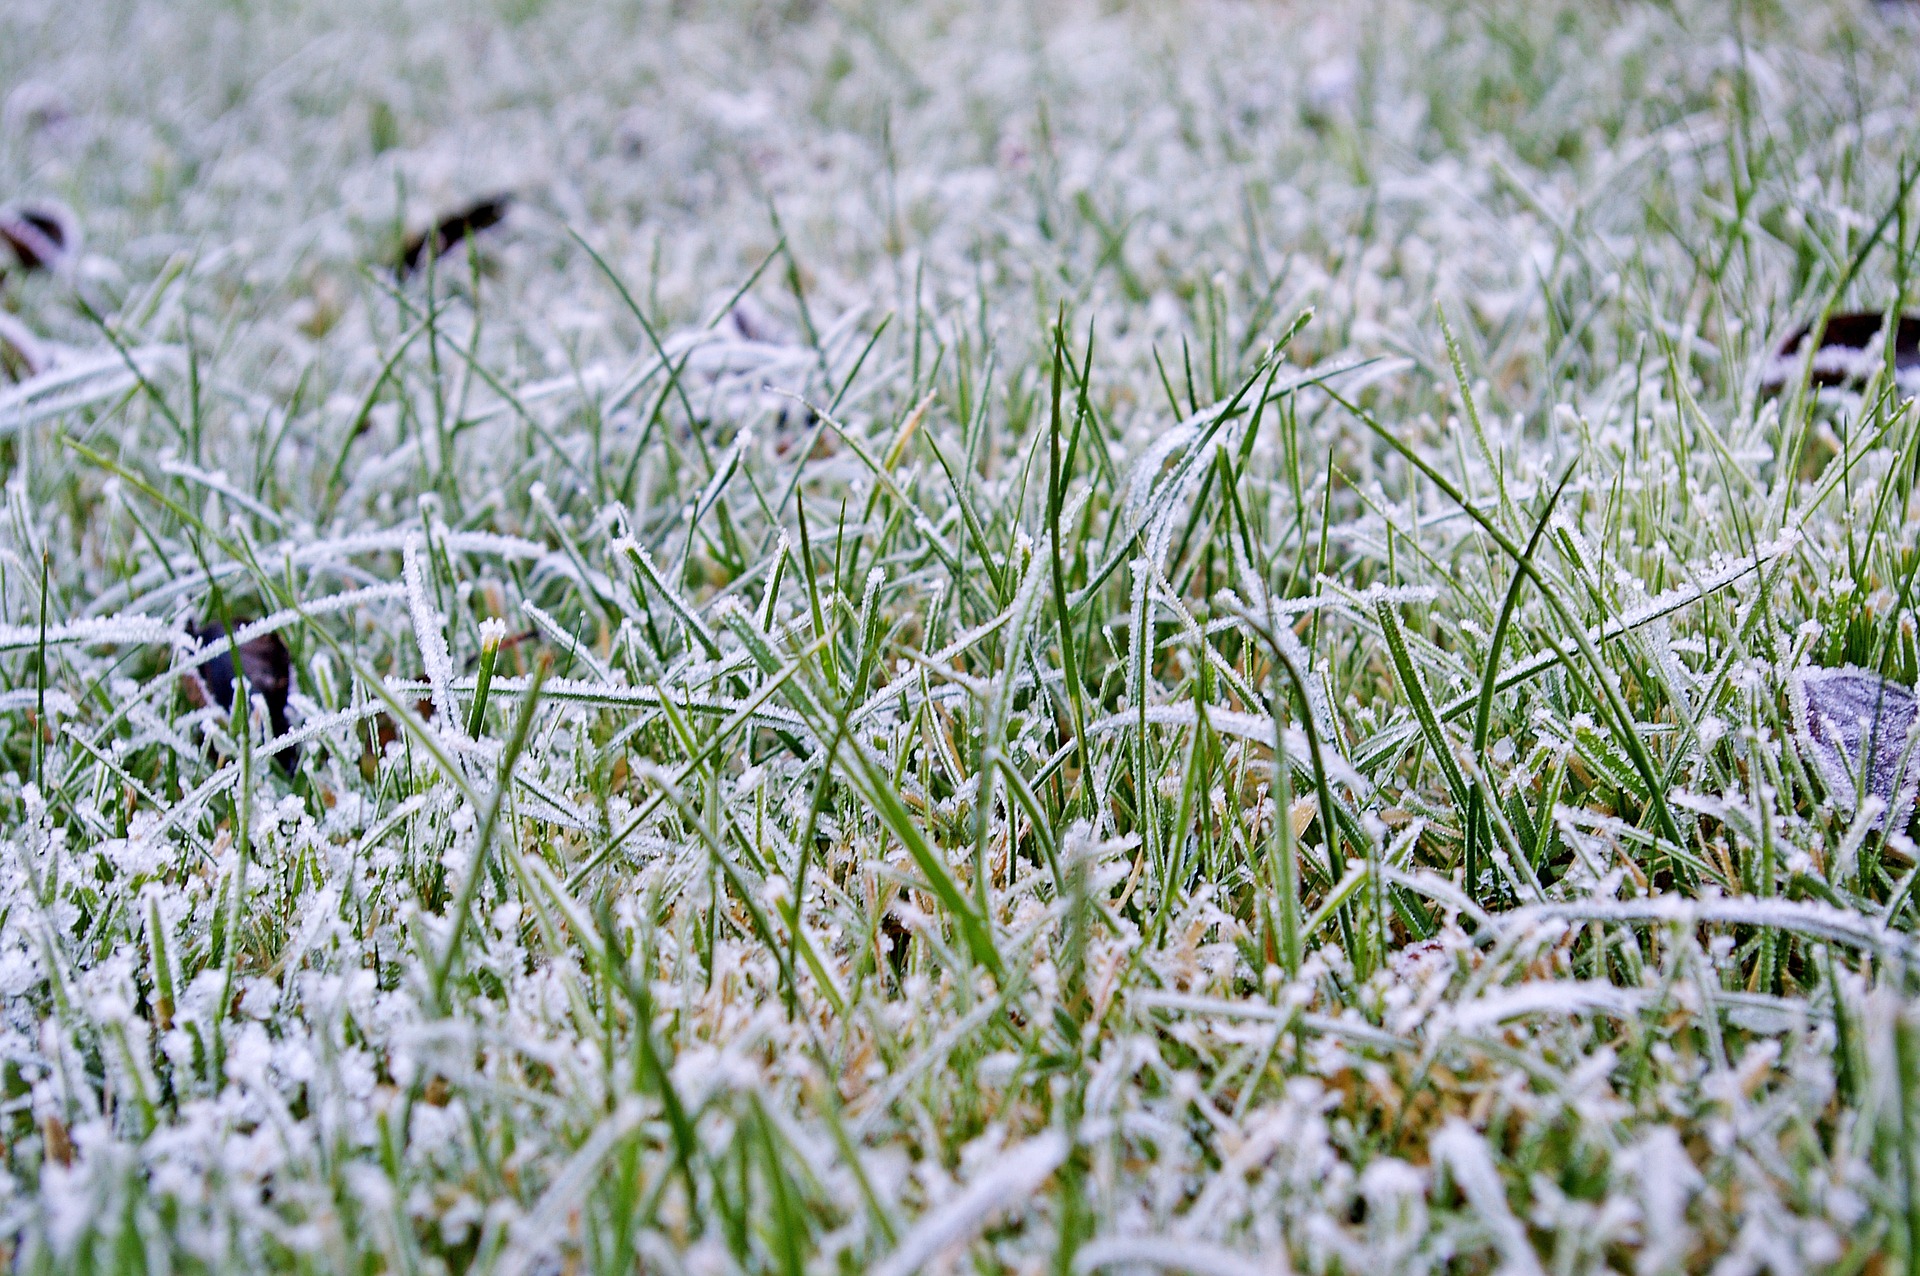
We all remember from our middle school science class that as water changes from a liquid to a solid under freezing temperatures it expands as it turns to ice. Water remaining in a sprinkler system is susceptible to freezing, which can lead to burst pipes and other significant damages. This is of great concern especially in any exposed above-ground pipes such as found around backflow preventers. Other freezing damages can also occur in valves, pipes, spray bodies, nozzles, fittings and other sprinkler system components.
There are many online resources and DIY videos available on the internet explaining how to winterize an irrigation system; but keep in mind that not all irrigation systems are the same. Some steps may vary depending on when your irrigation system was installed, the size of your system, and the overall components of your sprinkler system. The best, and safest, way to winterize your system is to leave it in the hands of a certified irrigation professional. If you already utilize a professional landscape service, they may already provide this service for you in your contract agreement; however if not, locate a WaterSense certified irrigation professional or an Irrigation Association certified professional in your area.
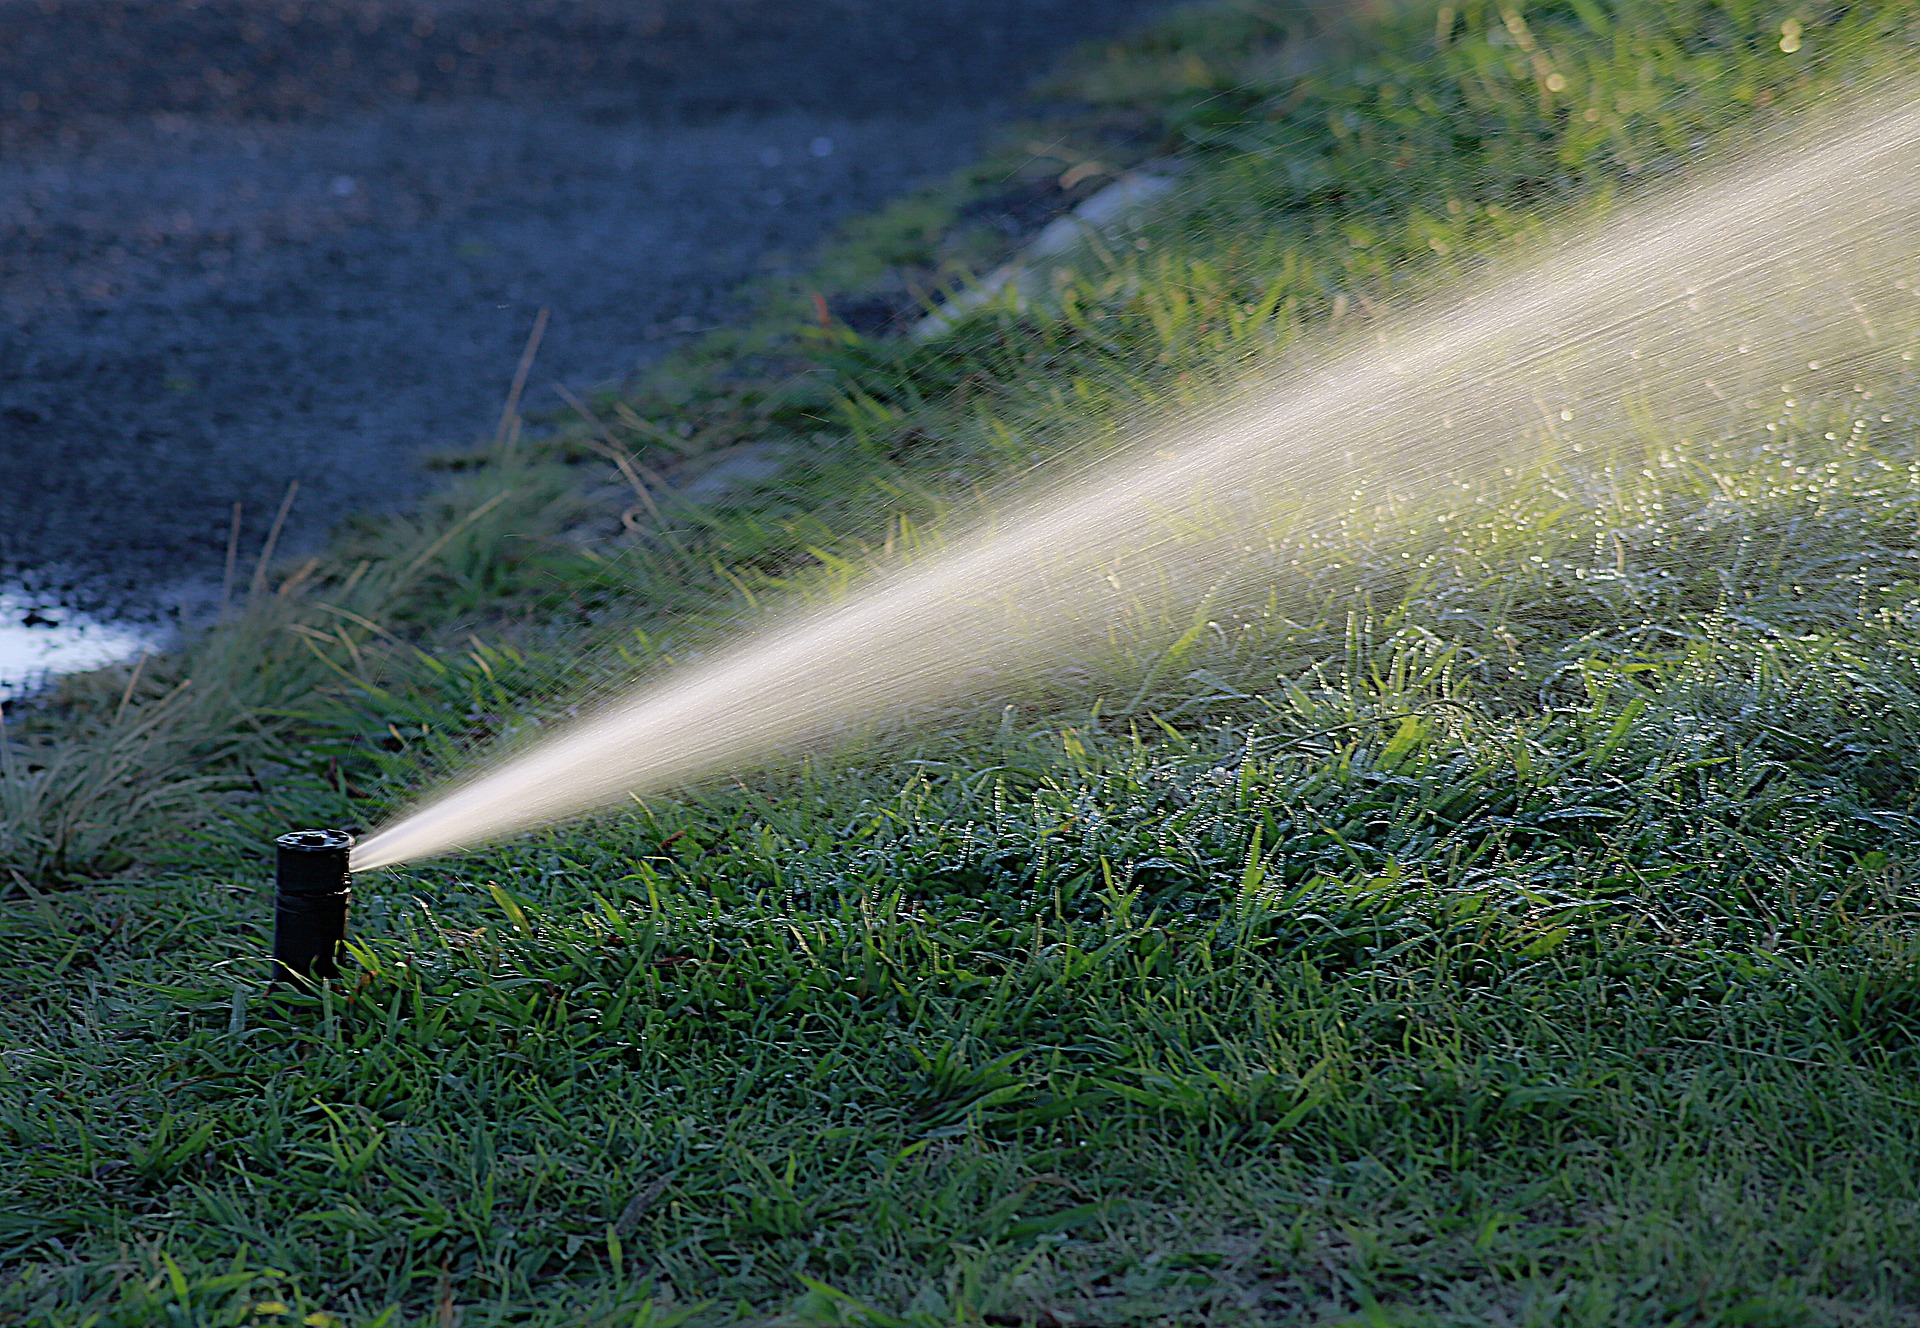
Some of the initial steps for winterizing your irrigation system can be completed by a homeowner or property manager. First you’ll want to run and survey each zone checking for leaking and/or broken heads and nozzles and make any necessary repairs or replacements. After assessing each of your zones and making appropriate repairs, locate the water shutoff valve to your irrigation system to turn off the water. This shutoff valve should be located somewhere between your water supply and the backflow preventer; the shutoff valve may be located indoors in your basement, in a crawlspace, or outside underground in a valve box. Once the water is shut off, it is a good idea to manually open your irrigation valves to allow any remaining water or built-up pressure to flow through the system. Additionally you can release any remaining water through any drain valves located in the valve box beside the valves.
After you have manually drained the system, you are ready to “blow-out” the irrigation system, which usually involves using compressed air. This should be done by a certified irrigation professional. While some homeowners might already own an air compressor, it is not recommended that homeowners blow-out the irrigation systems themselves; this is preferable not only as a general safety precaution but also to prevent other incidental damage(s) from occurring to the sprinkler system. Furthermore, while most consumer-owned air compressors can reach the required pressure or psi (pounds per square inch) to blow out an irrigation system, they do not generate the same volume of air in a given time (cubic feet per minute; cfm) to blow out the system as large, commercial compressors utilized by certified irrigation professionals. A larger volume of air allows the irrigation system to be drained significantly more quickly and more thoroughly, thus reducing the likelihood of any remaining water in the system. Again, there are many instructional articles and DIY videos online for blowing-out irrigation systems, however we strongly recommend you leave this step in the hands of a professional.
Once the system is blown-out you’ll want to prepare your backflow preventer for the winter; the irrigation professional who blows-out your system should be able to help you with this process. Turn the ball valves on the backflow preventer to a 45 degree angle relative to the pipe, and give the screws of the test-cocks a ¼ turn, where they are also at a 45-degree angle. This allows for any trapped water remaining in the valves to drain out and to prevent any cracking due to freezing. It is a good idea to insulate any exposed, above-ground pipe by applying foam around the pipes; you can also purchase a backflow blanket to further insulate and protect the backflow preventer. Both of these items should be available at your local irrigation supplier or you can find them online.
After making these adjustments you will need to locate the drain valve, which should be close to the water shutoff valve and open the valve and drain any remaining water from the system and leave the drain valve open during the winter (remember the water valve should remain OFF during the winter). You can put a large bowl or bucket on the floor to catch any water that may drip from the drain. After all of this is finished you’ll want to be certain that your irrigation controller is in the OFF position.
Winterizing your sprinkler system is an important process in maintaining your irrigation system’s performance. Failure to properly winterize can lead to significant and costly damages to your system. Contact a certified irrigation professional to help blow-out your system to reduce any potential damage during the winterization procedure.